Why do I need this? basically by default Houdini will boot up a new hython instance for every work item as it cooks in a rop fetch. this boot up period takes some time and if the export is faily simple, then booting hython might be the part of completing that work item that takes the longest. Using PDG services has brought my completion times in some cases from 3+ hours down to five minutes. (I tend to do mass exports of variations of simple geometry using PDG to generate these variations)
All PDG services does is leave several instances of hython running in the background so that they are always ready to process new work items without ever closing and rebooting.
Here is the quick start:
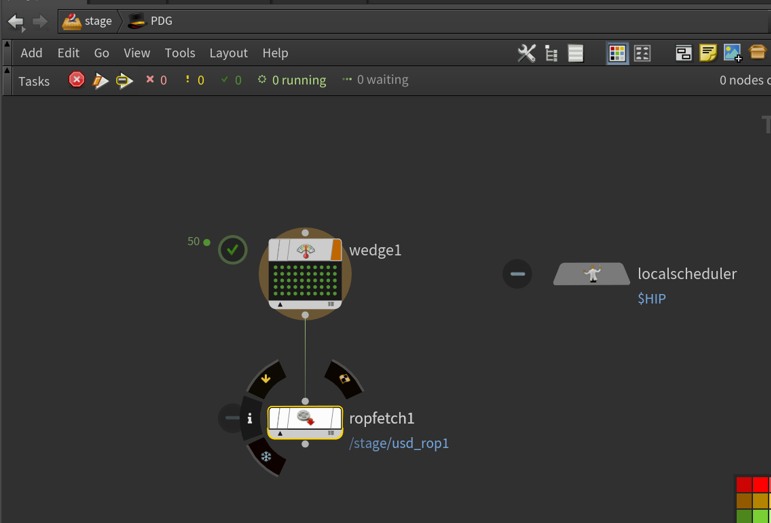
Given a PDG layout similar to this select your ropfetch
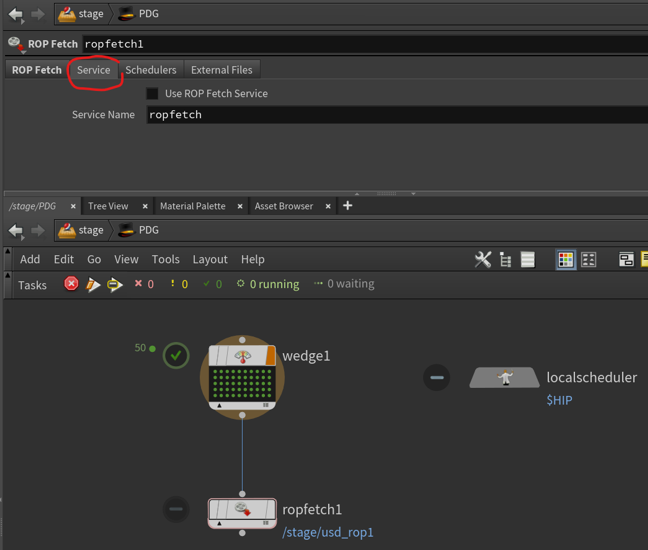
Select the Service tab
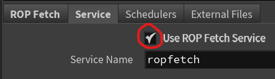
Toggle use ROP Fetch service
Open the tasks menu
Open PDG services
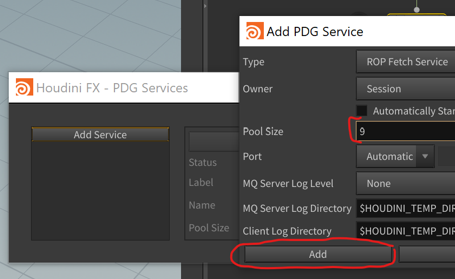
Add a service
Set the pool size to however many work items you want to run
at the same time then click add.
Click start to start up the instances and stop to stop them.
Any time you cook the ROP fetch while it is running it will default to using
PDG services.
Now when you run your ropfetch it will not reboot hython every single work item. Congrats you just saved yourself a lot of time.